


Step 1: Preparation
1. Determine the installation location Before installation, you must first determine the installation environment of the LED screen. For example, indoor or outdoor? Wall or bracket? LED screens in different environments have different requirements for waterproofing, dustproofing and heat dissipation. Take you to understand the 7 differences between indoor and outdoor LED screens.
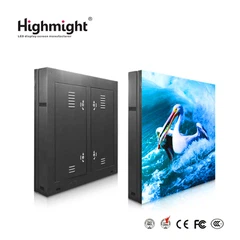
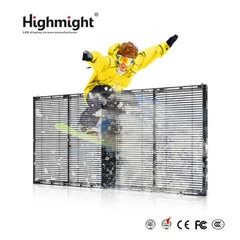
2. Choose a suitable LED screen There are many models of LED screens, including P2.5, P3, P4, etc. The smaller the number, the higher the pixel density, which is suitable for closer viewing distances. Choose the right product according to your usage scenario.
3. Reserve power and network interface The LED screen requires a stable power supply, and may also require network control. Plan the power socket and network cable interface in advance to avoid rework later.
Step 2: Install the bracket or frame
1. If the bracket is mounted on the wall, you need to drill holes in the wall and fix the bracket. For floor brackets or hanging solutions, make sure they are stable and reliable and can bear the weight of the screen. LED rental screen VS fixed installation screen.
2. Installation frame (suitable for large screen splicing) Large screens are generally spliced by multiple LED unit boxes, so a precise installation frame is required to ensure that each unit is aligned and there is no obvious gap after splicing.
Step 3: Install the LED unit box
1. Install the box in order According to the pre-designed arrangement order, fix the LED unit box one by one to the bracket to ensure horizontal and vertical alignment.
2. Connect the power and signal lines. Each LED box needs to be connected with the power line and signal line. Follow the instructions and connect them one by one to ensure that the connection is firm and not loose.
3. Debugging After the modular unit is installed, you can first perform a unit test to see if some modules are not lit or the color is abnormal. If problems are found, adjust them in time.
Step 4: Control system installation and debugging
1. Install the LED control system. Usually, the LED screen is managed by a computer or a dedicated control box. Install the control system software on the computer and connect it to the LED screen.
2. Perform software configuration. According to the resolution, refresh rate, brightness and other parameters of the LED screen, make corresponding adjustments in the software to ensure the best display effect.
3. Run the test screen. Load the test image, such as full white, full red, full green and other pure color pictures, and check the color uniformity and pixel display of the screen.
Step 5: Final Adjustment and Maintenance Recommendations
1. Adjust brightness and color Adjust the screen brightness according to the ambient light. Indoor screens should not be too bright to avoid affecting visual comfort, while outdoor screens require higher brightness to cope with direct sunlight. Here is the knowledge about nit brightness.
2. Ensure good heat dissipation LED screens will heat up after long-term operation, especially large outdoor screens. Ensure good ventilation and install heat dissipation equipment if necessary.
3. Regular inspection and maintenance LED screens are not a one-time thing. Regularly check whether the power cord and signal cable are loose, whether the screen has bad pixels, keep it clean, and extend the service life.
The installation of LED screens may sound complicated, but it is not difficult if you follow the above steps step by step. For beginners, the most important thing is to plan ahead, install carefully, and make timely adjustments when problems arise. I hope this guide can help you successfully complete the installation of LED screens and create ideal visual effects!


