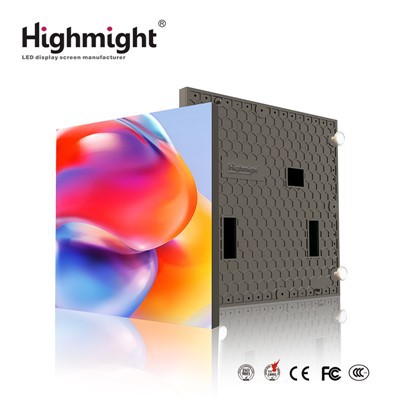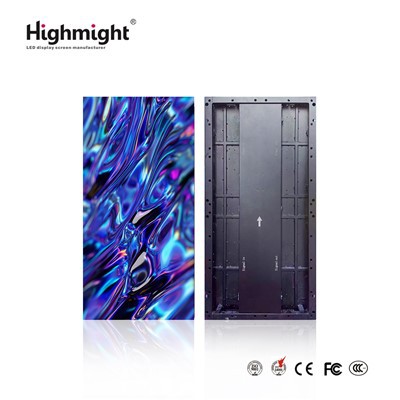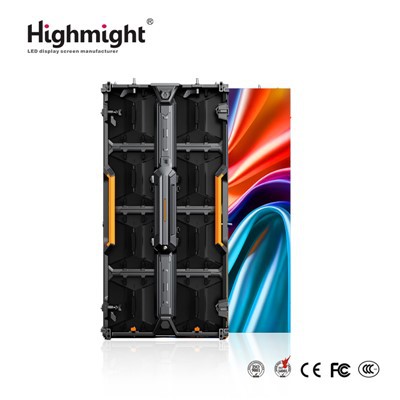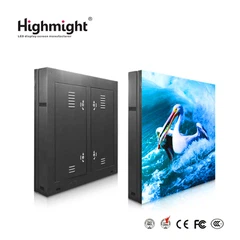


As a trusted outdoor rental LED display supplier, ensuring the optimal performance of our products is of utmost importance. Testing an outdoor rental LED display before use is a critical step that guarantees a seamless and high - quality visual experience for your events. In this blog, I'll share a comprehensive guide on how to thoroughly test an outdoor rental LED display.
1. Visual Inspection
Before powering on the LED display, a detailed visual inspection is essential. Start by examining the physical condition of the display panels. Check for any visible damage such as cracks, scratches, or dents on the surface of the panels. These imperfections can not only affect the aesthetic appeal but also potentially lead to functionality issues.
Inspect the frame of the display for any signs of bending or misalignment. A misaligned frame can cause problems during the installation process and may also result in uneven display of images. Ensure that all the modules are properly connected and that there are no loose parts. Any loose connections can lead to intermittent display issues or complete failure of certain sections of the screen.
2. Electrical Safety Check
Safety should always be a top priority when dealing with electrical equipment. Begin by inspecting the power cables for any signs of wear, fraying, or exposed wires. Damaged power cables pose a significant safety hazard and should be replaced immediately.
Check the power supply unit to ensure it is functioning correctly. Verify that the voltage and current ratings of the power supply match the requirements of the LED display. An incorrect power supply can damage the display and may also lead to safety issues. Use a multimeter to measure the voltage at the power input of the display to ensure it is within the acceptable range.
3. Signal Connection Test
The signal connection is crucial for transmitting the content to be displayed on the LED screen. First, check the signal cables, such as HDMI, DVI, or VGA cables, for any damage. Ensure that the cables are securely plugged into both the source device (e.g., a computer or media player) and the LED display.
To test the signal transmission, connect a test source to the display. You can use a pre - loaded test pattern or a simple video file. Observe the display for any signs of signal loss, such as flickering, pixelation, or color distortion. If there are any issues, try changing the signal cable or the source device to isolate the problem.
4. Brightness and Contrast Adjustment
Outdoor environments have varying lighting conditions, so it's important to adjust the brightness and contrast of the LED display accordingly. Use the display's control software or the built - in control panel to access the brightness and contrast settings.
Start by setting the display to its maximum brightness and observe the clarity of the image. In bright sunlight, a high - brightness display is necessary to ensure visibility. Our High Brightness Outdoor LED Rental Display is designed to provide excellent visibility even in direct sunlight.
Next, adjust the contrast to enhance the distinction between light and dark areas of the image. A proper contrast ratio will make the colors more vivid and the details more visible. Test different brightness and contrast settings to find the optimal combination for the specific outdoor environment where the display will be used.
5. Color Accuracy Test
Color accuracy is crucial for delivering a true - to - life visual experience. Use a color calibration tool or a pre - defined color test pattern to check the color accuracy of the LED display. Compare the displayed colors with the reference colors on the test pattern.
Look for any color deviations, such as incorrect hues, saturation levels, or color bleeding. If there are color issues, use the display's color adjustment settings to correct them. Our outdoor rental LED displays are engineered to provide accurate and consistent colors, but it's still important to perform a color accuracy test before each use.
6. Pixel Testing
Pixel defects can significantly affect the overall quality of the display. To test for pixel defects, display a solid - color background on the screen, such as white, black, red, green, and blue. Carefully examine the screen for any stuck pixels (pixels that remain a single color regardless of the input) or dead pixels (pixels that do not light up).
Most modern LED displays have a pixel correction function that can be used to address minor pixel issues. However, if there are a large number of pixel defects, it may be necessary to replace the affected modules.
7. Waterproof and Weather Resistance Test
Since outdoor rental LED displays are exposed to various weather conditions, it's essential to test their waterproof and weather resistance capabilities. If the display is advertised as waterproof, such as our Waterproof Outdoor LED Rental Display, perform a simple water test.
Use a gentle spray of water to simulate light rain and observe if there are any signs of water ingress into the display. Check the seals and gaskets around the edges of the panels to ensure they are intact. Additionally, consider the display's ability to withstand extreme temperatures, humidity, and wind. Test the display in different weather conditions if possible to ensure its reliability.
8. Installation and Structural Integrity Test
Proper installation is crucial for the stability and safety of the outdoor rental LED display. Before the actual event, set up the display according to the installation instructions. Check the structural integrity of the support frame and the mounting system.
Ensure that the display is securely fastened and that there is no excessive movement or vibration. Test the stability of the display by gently applying pressure to different parts of the screen. If the display is installed on a mobile structure, such as a trailer, test its stability during movement.
9. Software and Functionality Test
The software that controls the LED display plays a vital role in its operation. Test all the functions of the control software, such as image and video playback, brightness and contrast adjustment, and color correction.


Check if the software can communicate with the display correctly. Try different input sources and formats to ensure compatibility. Update the software to the latest version if available to take advantage of any bug fixes and new features.
10. Long - Term Testing
For a more comprehensive assessment, conduct a long - term test of the LED display. Run the display for several hours or even days, if possible, to simulate the actual usage time during an event. Monitor the display for any signs of overheating, performance degradation, or other issues that may not be apparent during short - term testing.
During the long - term test, observe the power consumption of the display. Excessive power consumption can indicate a problem with the display or the power supply.
In conclusion, thorough testing of an outdoor rental LED display before use is essential to ensure its optimal performance, safety, and reliability. By following these steps, you can identify and address any potential issues before they cause problems during an event.
If you are in the market for high - quality outdoor rental LED displays, we are here to assist you. Our Outdoor Event LED Rental Display is designed to meet the diverse needs of various outdoor events. Contact us for more information on our products and to discuss your specific requirements. We look forward to partnering with you for your next event.
References
- General knowledge of LED display technology and testing procedures.
- Manufacturer's guidelines for outdoor rental LED displays.