


Hey there! As an outdoor LED module supplier, I often get asked about the installation methods for outdoor LED modules on a wall. In this blog, I'll walk you through the whole process, from the prep work to the final checks.
Pre - installation Preparations
Before you start slapping those LED modules on the wall, you gotta do some groundwork. First off, you need to pick the right location. The wall should be sturdy enough to hold the weight of the LED modules. You don't want them crashing down after a few days, right? Check for any cracks or weak spots in the wall and fix them up.
Next, measure the area where you plan to install the modules. This will help you figure out how many modules you need. You can use a simple measuring tape for this. Make sure to measure both the length and the height accurately.
Also, think about the power source. You need to have a reliable power supply nearby. Plan the wiring route in advance so that it's safe and doesn't get in the way. And don't forget about the environmental factors. If the location gets a lot of sunlight, rain, or extreme temperatures, you'll need to choose Energy - saving Outdoor LED Modules that can withstand these conditions.
Tools You'll Need
Now, let's talk about the tools. You'll need a drill, of course. Make sure it's the right size for the screws you're using to attach the modules to the wall. A screwdriver will come in handy for tightening the screws. You'll also need a level to ensure that the modules are installed straight. Nobody wants a crooked LED display.
A wire stripper is essential for connecting the wires. It helps you expose the metal part of the wire so that you can make a good electrical connection. And a pair of pliers can be useful for bending wires or holding small parts in place.
Mounting the LED Modules
Once you've got everything ready, it's time to start mounting the modules. First, mark the positions on the wall where you'll drill the holes. Use the level to make sure the marks are in a straight line. Then, drill the holes into the wall. Be careful not to drill too deep or too shallow.
After drilling the holes, insert the wall plugs. These will provide a better grip for the screws. Now, take your LED module and align it with the holes on the wall. Insert the screws through the module and into the wall plugs. Tighten the screws using the screwdriver, but don't over - tighten them. You just want to make sure the module is securely attached to the wall.
Repeat this process for all the modules. If you're installing multiple modules side by side, make sure they are properly aligned. You can use the level to check the alignment between the modules. This will give your LED display a professional look.
Wiring the LED Modules
Wiring is a crucial part of the installation. Start by stripping the ends of the wires using the wire stripper. Make sure you expose enough of the metal part for a good connection. Connect the positive and negative wires of the LED modules according to the manufacturer's instructions. Usually, the positive wire is red and the negative wire is black.
You can use wire connectors to join the wires together. These connectors ensure a secure and reliable connection. Be careful not to cross - connect the wires, as this can cause the modules to malfunction.
Once you've connected all the modules, run the main power cable to the power source. Make sure the cable is protected and doesn't pose any safety hazards. You can use cable clips to secure the cable to the wall.
Testing the LED Modules
After you've finished wiring, it's time to test the LED modules. Switch on the power supply and see if the modules light up. Check for any dead pixels or flickering lights. If you notice any issues, double - check your wiring connections. It could be a loose wire or a wrong connection.
If everything looks good, leave the modules on for a while to make sure they are stable. You can also adjust the brightness and color settings if your Outdoor LED Display Module has these features.
Final Checks
Before you call it a day, do a final inspection. Check all the screws to make sure they are still tight. Look for any signs of damage to the modules or the wiring. Make sure the modules are still aligned properly.


Also, check the environmental conditions around the installation. If there are any potential hazards, like overhanging branches or water leaks, take steps to address them.
Why Choose Our Outdoor LED Modules?
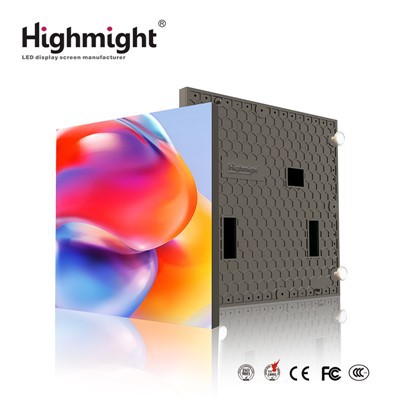
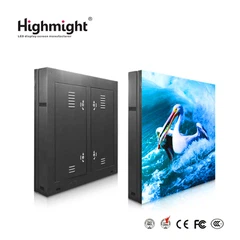
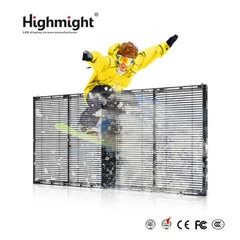
Our outdoor LED modules are top - notch. They are energy - efficient, which means you'll save on your electricity bills in the long run. They are also built to last, even in harsh outdoor environments. With high - quality materials and advanced technology, our modules offer a bright and clear display.
If you're interested in purchasing our outdoor LED modules or have any questions about the installation process, don't hesitate to reach out. We're here to help you every step of the way. Whether you're a small business owner looking to add some flair to your storefront or a large event organizer in need of a big - scale LED display, we've got the right products for you.
References
- General knowledge about outdoor LED module installation from years of experience in the industry.
- Manufacturer's guidelines for outdoor LED modules.