


Hey there! As a supplier of Outdoor LED Display Modules, I've seen firsthand how important it is to keep these displays in top - notch condition. One key aspect of maintaining an outdoor LED display module is installing a heat - insulation layer. In this blog, I'll walk you through how to do just that.
Why a Heat - Insulation Layer?
Before we jump into the installation process, let's talk about why you need a heat - insulation layer for your outdoor LED display module. Outdoor LED displays are exposed to all kinds of weather conditions, including scorching sun. High temperatures can cause a whole bunch of problems for your LED modules. They can lead to reduced brightness, color distortion, and even shorten the lifespan of the LEDs. A good heat - insulation layer can help regulate the temperature inside the display, keeping it cool and functioning at its best.
Materials You'll Need
First things first, let's gather the materials you'll need for this project.
- Heat - Insulation Material: There are various types available in the market. You can choose from foam insulation, reflective insulation, or fiberglass insulation. Each has its own pros and cons. Foam insulation is lightweight and easy to install. Reflective insulation is great at reflecting heat away from the display. Fiberglass insulation is known for its high - temperature resistance.
- Adhesive: You'll need a strong adhesive to attach the heat - insulation material to the LED display module. Make sure the adhesive is suitable for both the insulation material and the surface of the module.
- Measuring Tools: A tape measure and a level will come in handy to ensure accurate installation.
- Cutting Tools: A utility knife or scissors will be used to cut the insulation material to the right size.
Step - by - Step Installation Process
Step 1: Measure the LED Display Module
Use your tape measure to measure the dimensions of the outdoor LED display module. You need to get accurate measurements of the length, width, and height of the areas where you want to install the heat - insulation layer. Write down these measurements so you don't forget.
Step 2: Cut the Heat - Insulation Material
Based on the measurements you took, use your cutting tools to cut the heat - insulation material to the appropriate size. Make sure to cut it a little larger than the actual area to be covered to allow for some overlap. This will ensure that there are no gaps where heat can seep through.
Step 3: Prepare the Surface
Clean the surface of the LED display module where you'll be attaching the heat - insulation layer. Remove any dust, dirt, or debris. A clean surface will ensure better adhesion of the insulation material. You can use a mild detergent and a soft cloth to clean the surface. Rinse it thoroughly and let it dry completely before moving on to the next step.
Step 4: Apply the Adhesive
Apply the adhesive to the back of the heat - insulation material. Make sure to spread it evenly using a brush or a roller. Be careful not to apply too much adhesive as it can create a mess and may not adhere properly. If you're using a double - sided adhesive tape, just peel off the backing and stick it to the insulation material.
Step 5: Attach the Heat - Insulation Material
Carefully place the heat - insulation material on the prepared surface of the LED display module. Start from one corner and slowly press it down, smoothing out any air bubbles as you go. Use a level to make sure the insulation is straight and even. If there are any areas that need to be trimmed further, use your cutting tools to make the necessary adjustments.
Step 6: Seal the Edges
Once the heat - insulation material is attached, use additional adhesive or a sealing tape to seal the edges. This will prevent any moisture or heat from getting in through the sides. Make sure the seal is tight and secure.
Tips for a Successful Installation
- Work in a Cool Environment: High temperatures can make the adhesive dry too quickly, making it difficult to work with. Try to install the heat - insulation layer on a cool day or in a shaded area.
- Wear Protective Gear: When handling insulation materials, especially fiberglass, wear gloves, a mask, and safety goggles to protect yourself from any potential irritants.
- Test the Display: After the installation, turn on the LED display module and monitor the temperature. Check if the heat - insulation layer is working effectively by comparing the internal temperature before and after the installation.
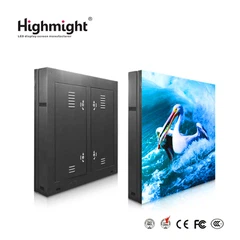
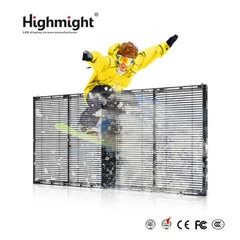
Our Outdoor LED Display Modules
At our company, we offer a wide range of Outdoor LED Display Module. Our High Brightness Outdoor LED Module is perfect for outdoor environments where high visibility is required. And if you're looking for something more energy - efficient, our Energy - saving Outdoor LED Modules are a great choice. These modules are designed to provide excellent performance while reducing energy consumption.
Contact Us for Procurement
If you're interested in purchasing our outdoor LED display modules or have any questions about heat - insulation installation, don't hesitate to reach out. We're here to help you make the best decision for your outdoor display needs. Whether you're a small business owner looking to promote your products or a large event organizer in need of a high - quality display, we've got you covered.


References
- "LED Display Technology Handbook"
- "Outdoor Lighting and Display Best Practices"
- Manufacturer's guides for heat - insulation materials


