


Hey there! As a supplier of Outdoor LED Display Modules, I've had my fair share of experiences with installing monitoring systems for these modules. In this blog, I'm gonna walk you through the steps on how to install a monitoring system for an outdoor LED display module.
Why Do You Need a Monitoring System?
First off, let's talk about why a monitoring system is so important for your outdoor LED display module. Outdoor environments are unpredictable. You've got to deal with extreme temperatures, humidity, and even potential physical damage. A monitoring system helps you keep an eye on the module's performance, temperature, power consumption, and more. This way, you can catch any issues early on and prevent major problems that could lead to costly repairs or downtime.
Step 1: Choose the Right Monitoring System
The first step is to pick a monitoring system that suits your needs. There are a bunch of options out there, but you need to consider factors like the size of your LED display, the features you need, and your budget. Some monitoring systems offer basic functions like temperature and brightness monitoring, while others come with more advanced features such as real - time data analytics and remote control.
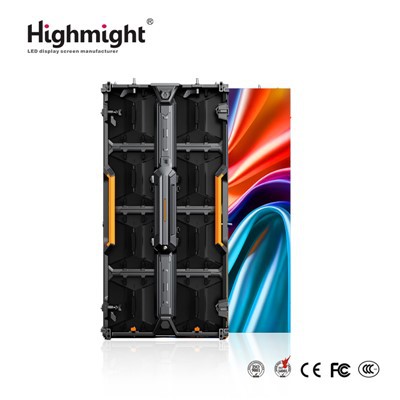
If you're looking for high - quality outdoor LED modules to pair with your monitoring system, check out our High Brightness Outdoor LED Module. These modules are designed to provide excellent visibility even in bright sunlight.
Step 2: Gather Your Tools
Once you've chosen your monitoring system, it's time to gather the tools you'll need for the installation. You'll typically need a screwdriver, wire cutters, electrical tape, and a drill (if you need to mount any components). Make sure you have all the necessary tools on hand before you start the installation process.
Step 3: Plan the Installation
Before you start drilling holes and running wires, take some time to plan the installation. Decide where you'll mount the monitoring sensors and the control unit. You want to place the sensors in areas where they can accurately measure the relevant parameters, like near the LED panels for temperature monitoring. Also, plan the routing of the wires to ensure they're not in the way and are protected from the elements.
Step 4: Install the Sensors
Now it's time to install the sensors. Start by mounting the sensors in the locations you've planned. Use the screwdriver to secure them in place. Make sure the sensors are firmly attached and are in the correct orientation.
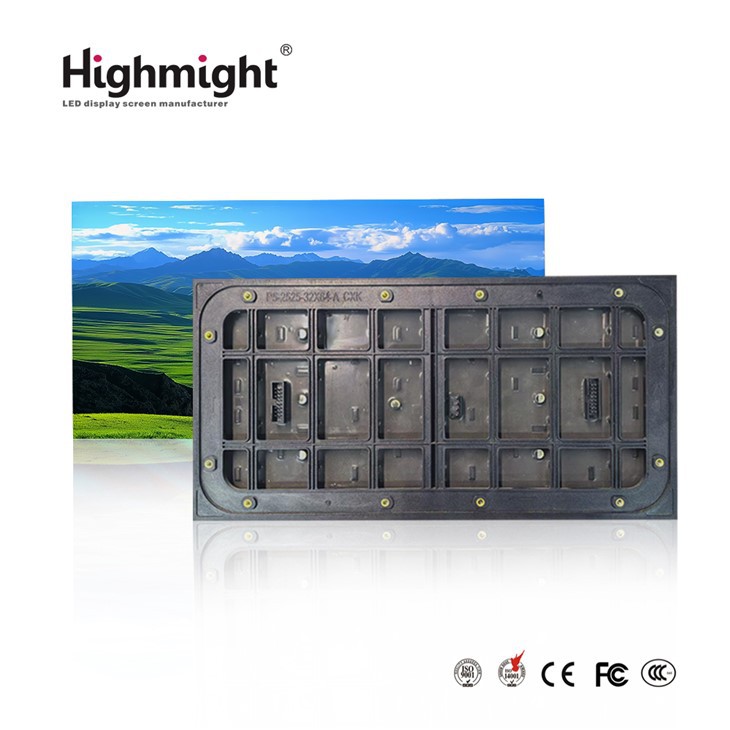

For outdoor installations, it's crucial to use Waterproof LED Module - compatible sensors. These sensors are designed to withstand moisture and other environmental factors, ensuring reliable performance.
Step 5: Connect the Wires
After installing the sensors, it's time to connect the wires. Use the wire cutters to cut the wires to the appropriate length and strip the ends. Then, connect the wires from the sensors to the control unit according to the manufacturer's instructions. Use electrical tape to secure the connections and prevent any short - circuits.
Step 6: Mount the Control Unit
Next, mount the control unit. Choose a location that's easily accessible for maintenance but also protected from the elements. Use the drill to make holes and secure the control unit in place.
Step 7: Power Up and Test
Once everything is installed and connected, it's time to power up the monitoring system. Check if the sensors are sending data to the control unit. You can usually do this by accessing the control unit's interface or using a connected device. If there are any issues, double - check your connections and make sure the sensors are working properly.
Step 8: Set Up the Software
Most monitoring systems come with software that allows you to view and analyze the data. Install the software on a computer or a mobile device and connect it to the control unit. Follow the setup instructions to configure the software according to your preferences. You can set up alerts for abnormal conditions, such as high temperatures or low power consumption.
Step 9: Regular Maintenance
Installing the monitoring system is just the first step. To ensure its long - term performance, you need to perform regular maintenance. Check the sensors and connections periodically for any signs of damage or wear. Clean the sensors to remove any dirt or debris that could affect their accuracy.
Step 10: Troubleshooting
Even with proper installation and maintenance, you may encounter some issues with the monitoring system. If you notice any problems, such as inaccurate readings or a loss of connection, refer to the manufacturer's troubleshooting guide. In most cases, simple issues can be resolved by checking the connections, restarting the system, or updating the software.
In conclusion, installing a monitoring system for an outdoor LED display module is a process that requires careful planning and attention to detail. By following these steps, you can ensure that your monitoring system works effectively and helps you keep your outdoor LED display in top - notch condition.
If you're in the market for high - quality Outdoor LED Display Module and need more information on monitoring systems or have any other questions, don't hesitate to reach out. We're here to help you make the best decisions for your outdoor LED display needs.
References
- LED Display Installation Guides from Industry Manufacturers
- Outdoor LED Lighting and Monitoring System Manuals